Windows
Log into your server and go to Server Manager.
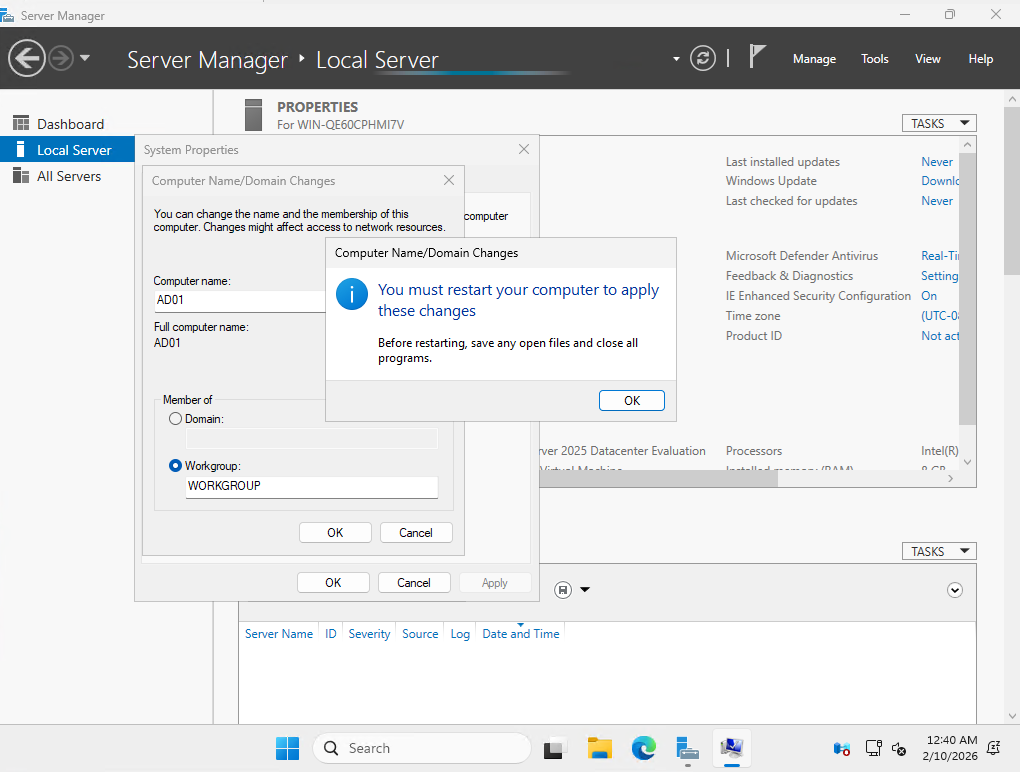
Select “Local Server” and your computer name under “Computer Name”.
Select “Change” next to “To rename this computer or change its domain or workgroup, click Change.”
Change your computer name to something appropriate (i.e. AD01)
Click “OK” and reboot the computer
6. When the computer reboots and you relog back in, go to your Control Panel.
7. Select “Network and Internet”. "Select “Network and Sharing Center”. Select “Change Adapter Settings”
8. Select the NIC your server will be using for network access by right clicking and selecting “Properties”
9. (OPTIONAL) de-select “Internet Protocol Version 6” to disable IPv6.
10. Double-click “Internet Protocol Version 4”.
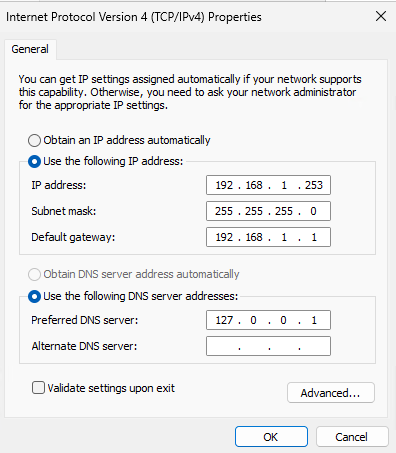
11. Select “Use the following IP addresses” and input the static IP address of the server.
12. Select “Use the following DNS server addresses” and input “127.0.0.1”
13. Select “OK” > Select “OK”
14. Go back to Server Manager.
15. Go to “Manage” and then “Add Roles and Features”
16. Select “Next”. Select “Role-based or feature-based installation”
17. Select “Next” on the page with the “Select a server…”
18. On the Server Roles page, select “Active Directory Domain Services”. A window will pop up and make sure “Include management tools (if applicable")” is selected before selecting “Add Features”
19. Select “Next” > Select “Next” > Select “Next”
20. On the confirmation page, select “Restart the destination server automatically if required”.
21. Select “Install” and wait for the installation to finish.
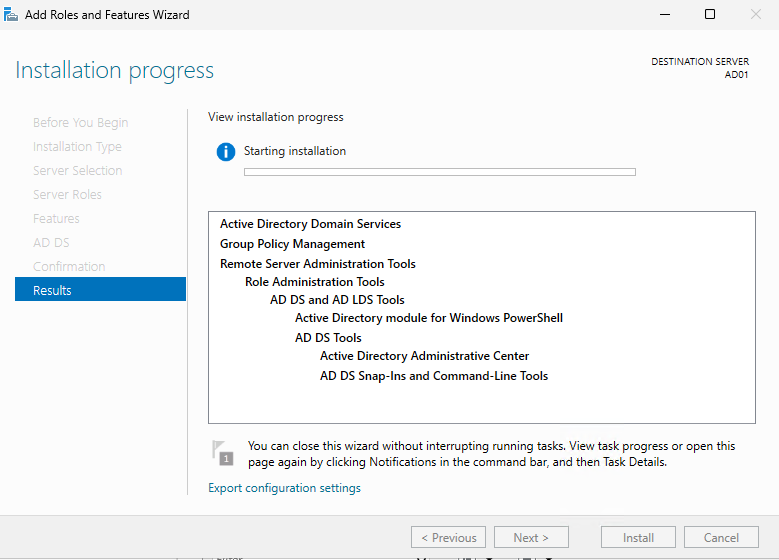
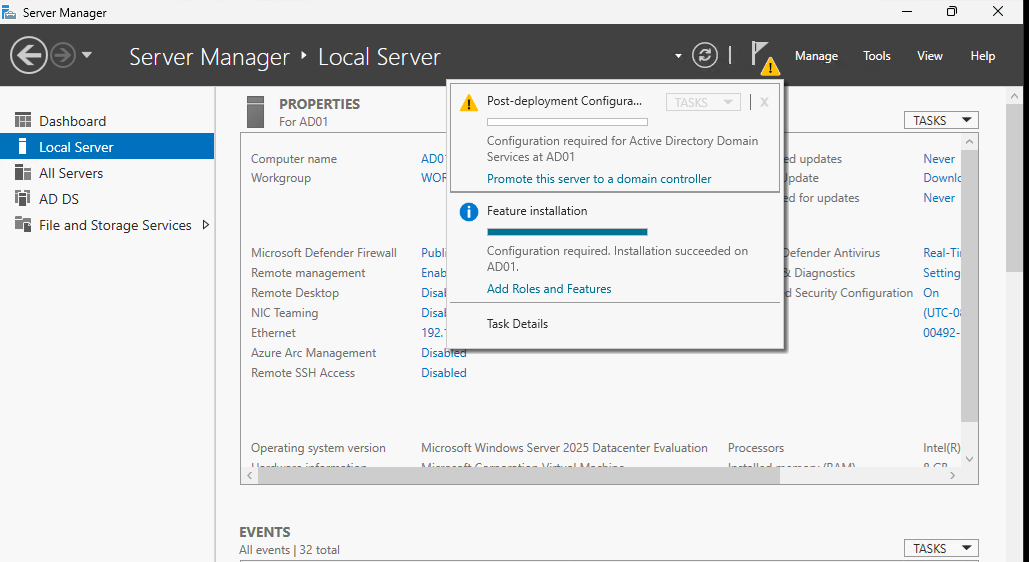
22. After the installation finishes, go back to Server Manager. There will be a yellow alert icon next to the flag icon in the top right.
23. Select the flag and then select “Promote this server to a domain controller”
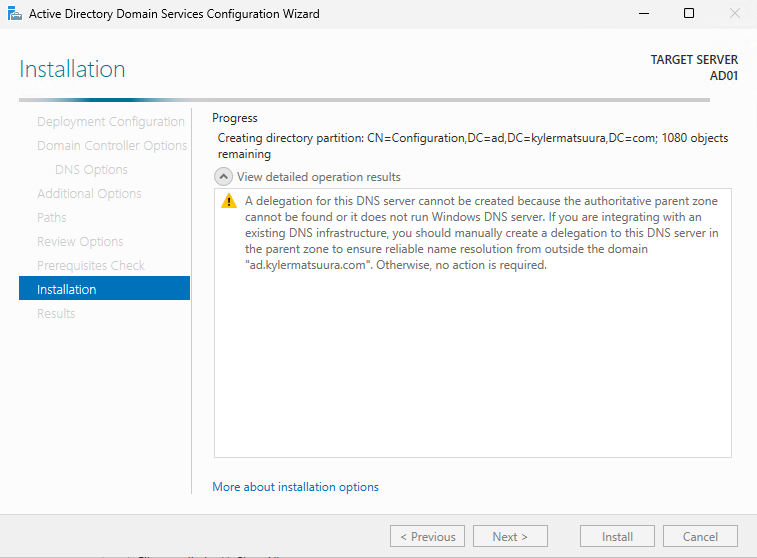
24. Select “Add a new forest”. Name your root domain. (i.e. ad.<domain-name>.com)
25. Input a DSRM password and select next.
26. Select next until you can click “Install”. Your computer will reboot automatically after installation